This post will assume the following:
- You have an existing IoT Connector in your Murano account
- Your IoT connector has at least one provisioned device
- The IoT connector has been added to your solution (your ExoSense instance).
If you have not completed the above requirements, check out our documentation to get started.
By the end of this tutorial, you will know how to:
- Claim a device in ExoSense
- Create an asset from that device
- Use your new asset to create an asset template
1. Claiming a Device
Devices that have been provisioned in an IoT connector linked to your ExoSense instance are not immediately available for creating assets. Before you can create an asset from your device, you must “claim” the device and place it into a group. To do so, navigate to the “Device Management” page and select “Unclaimed” from the top menu.
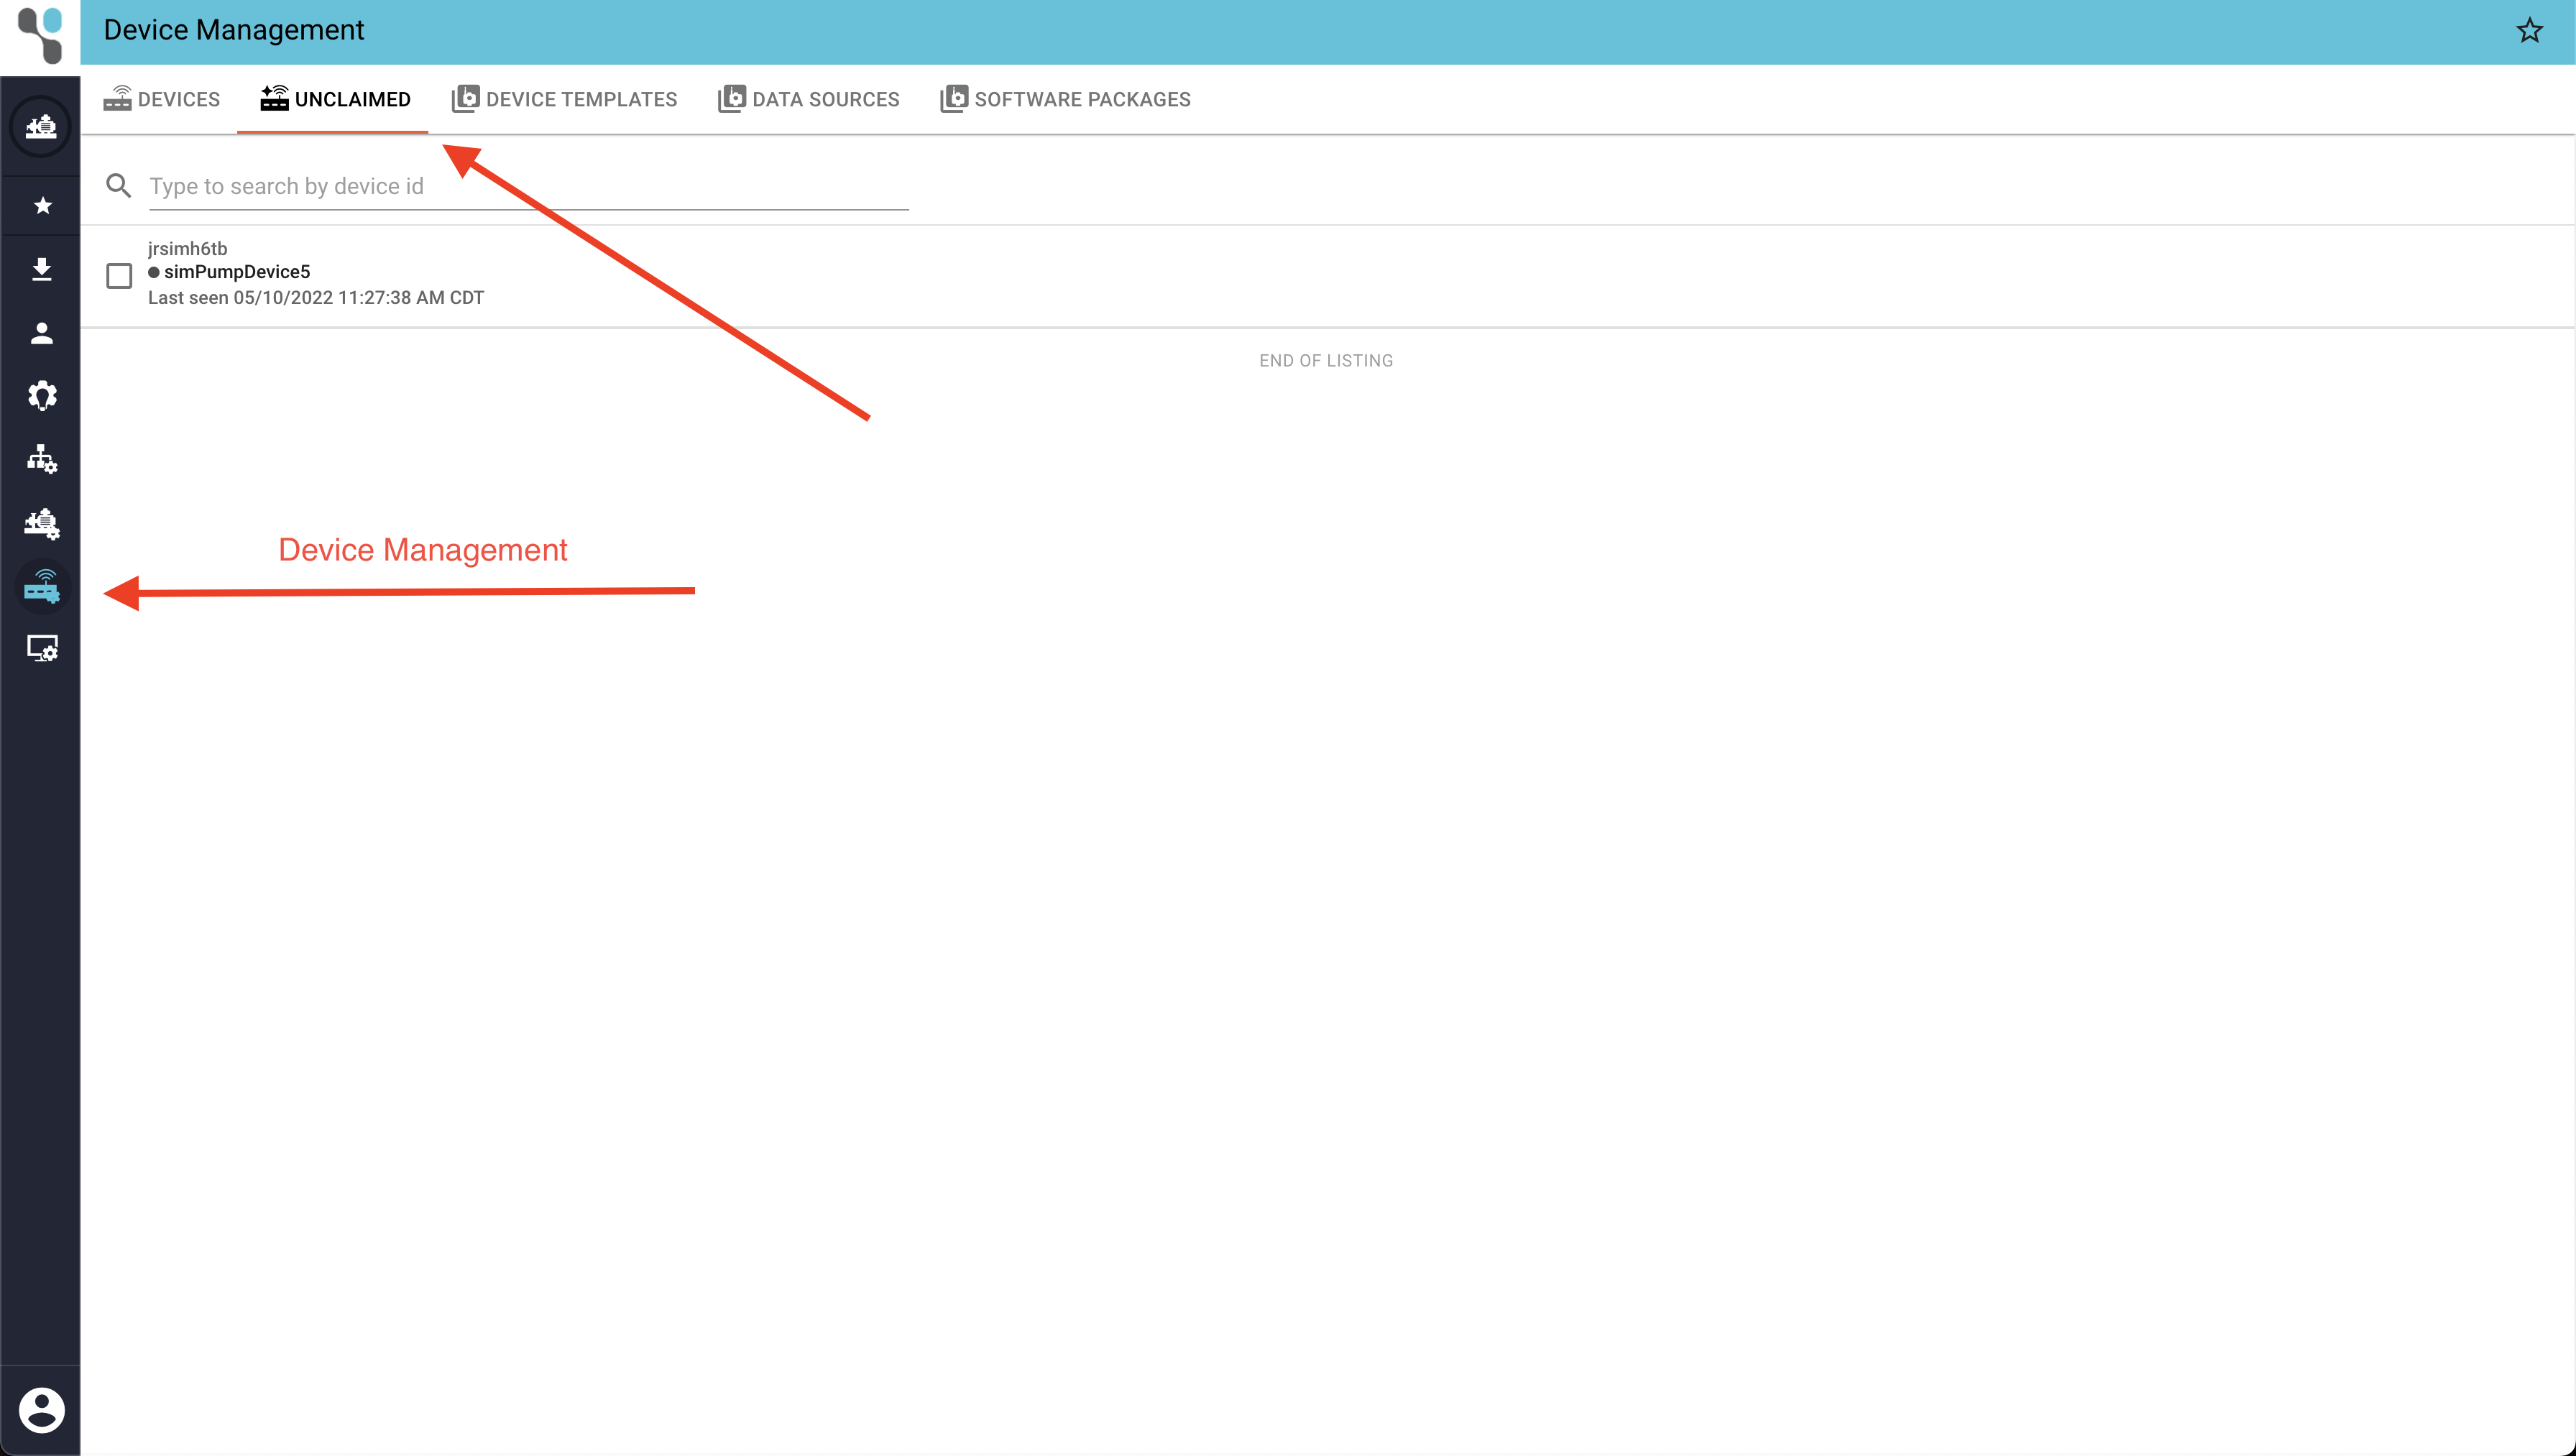
Note that in this example, the device is visible in the “Unclaimed” list. This may not always be the case, especially if you have a large number of devices in your IoT connector. To find missing devices, type the device name into the search bar.
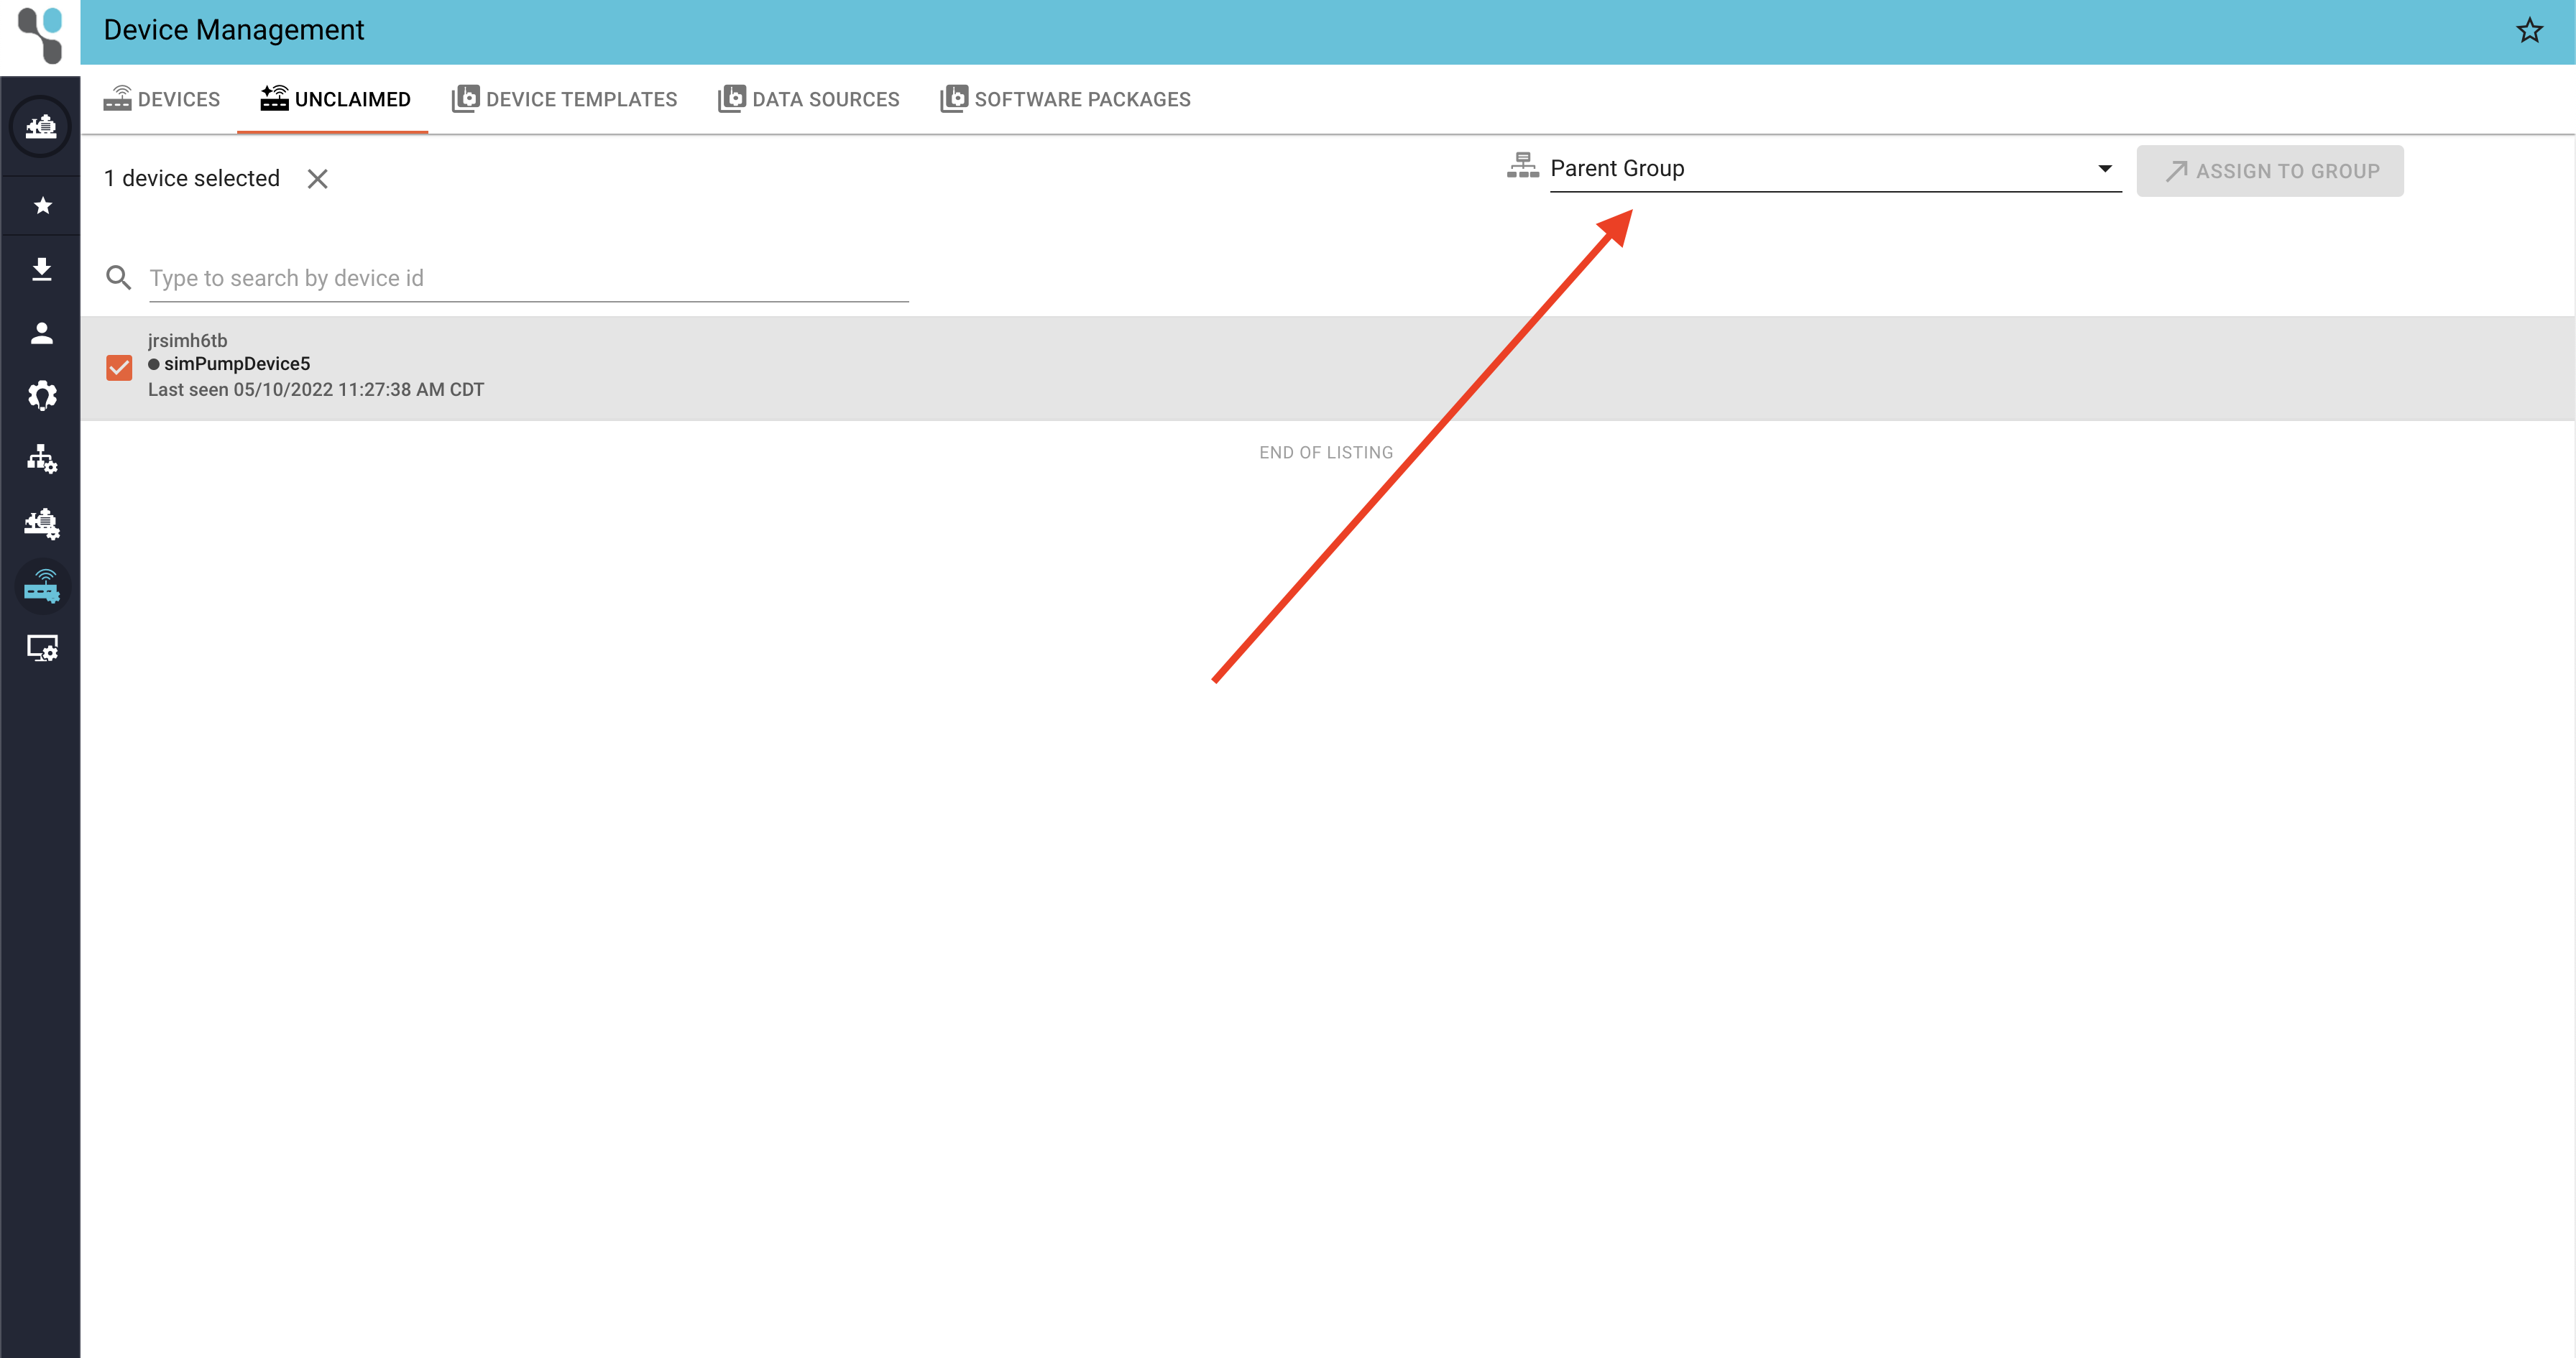
Note, also, that the group into which you claim the device will determine which users are able to access the device. Users in groups which are “children” of the device’s group will have access to it. If you place the device into your “root” or “home” group, all users will have access to the device.
To claim a device, click the check-box to the left of the device name. A drop-down menu will appear at on the right side of the top menu. From this drop-down, select the group into which you want to claim the device.
Once you have claimed the device into a group, navigate to the “Devices” page using the top menu. The device will now be visible in the list. If you have a lot of devices, it may be helpful to apply some filters to the list or to search for the device directly as shown in the example.

2. Creating an Asset from a Device
To create an asset from the device, click the morevert (3-dot icon) on the right side of the device card and select “Create Asset from Device”.
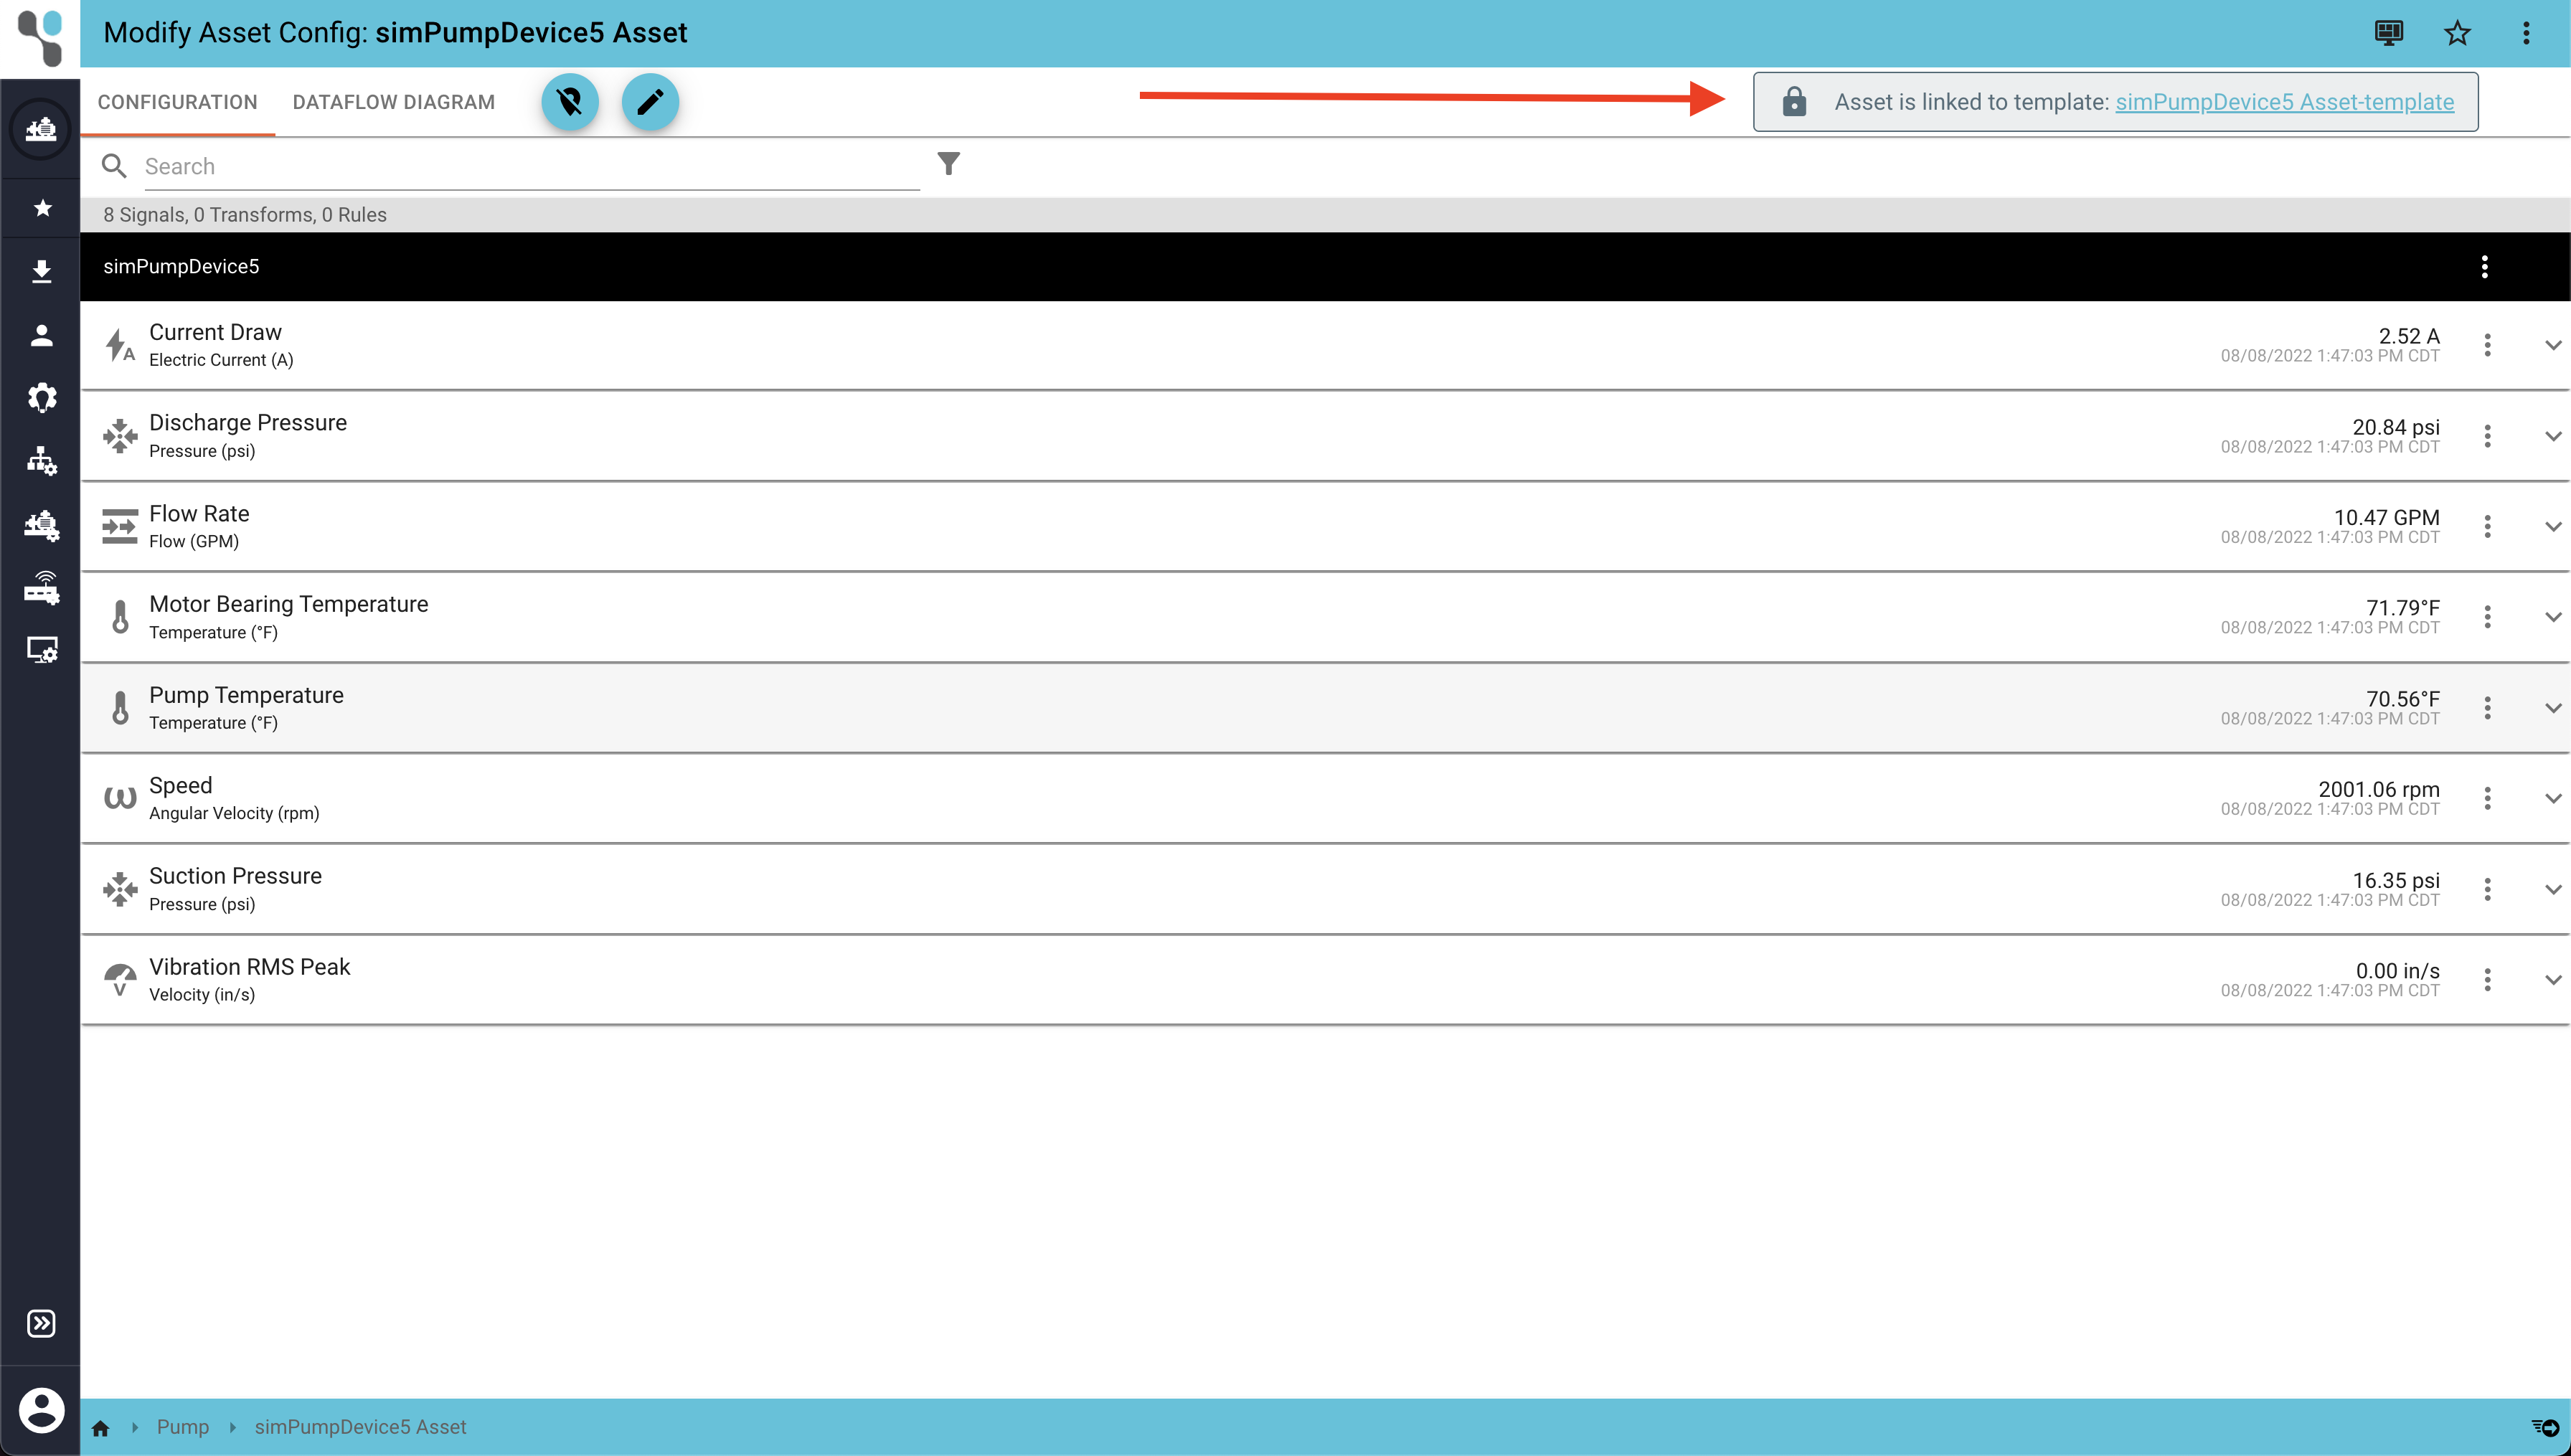
All of the details required to create an asset, such as asset group, template, device, etc. will be pre-populated. If everything looks good, click the “Create” button at the bottom right of the screen. You will automatically be taken to the “Modify Asset Config” page for the new asset. This page will list the asset signals (which were created from the channels on the device). This page is where you can add rules and transforms to your asset signals. To learn more about assets, rules, and transforms, please check out our documentation.
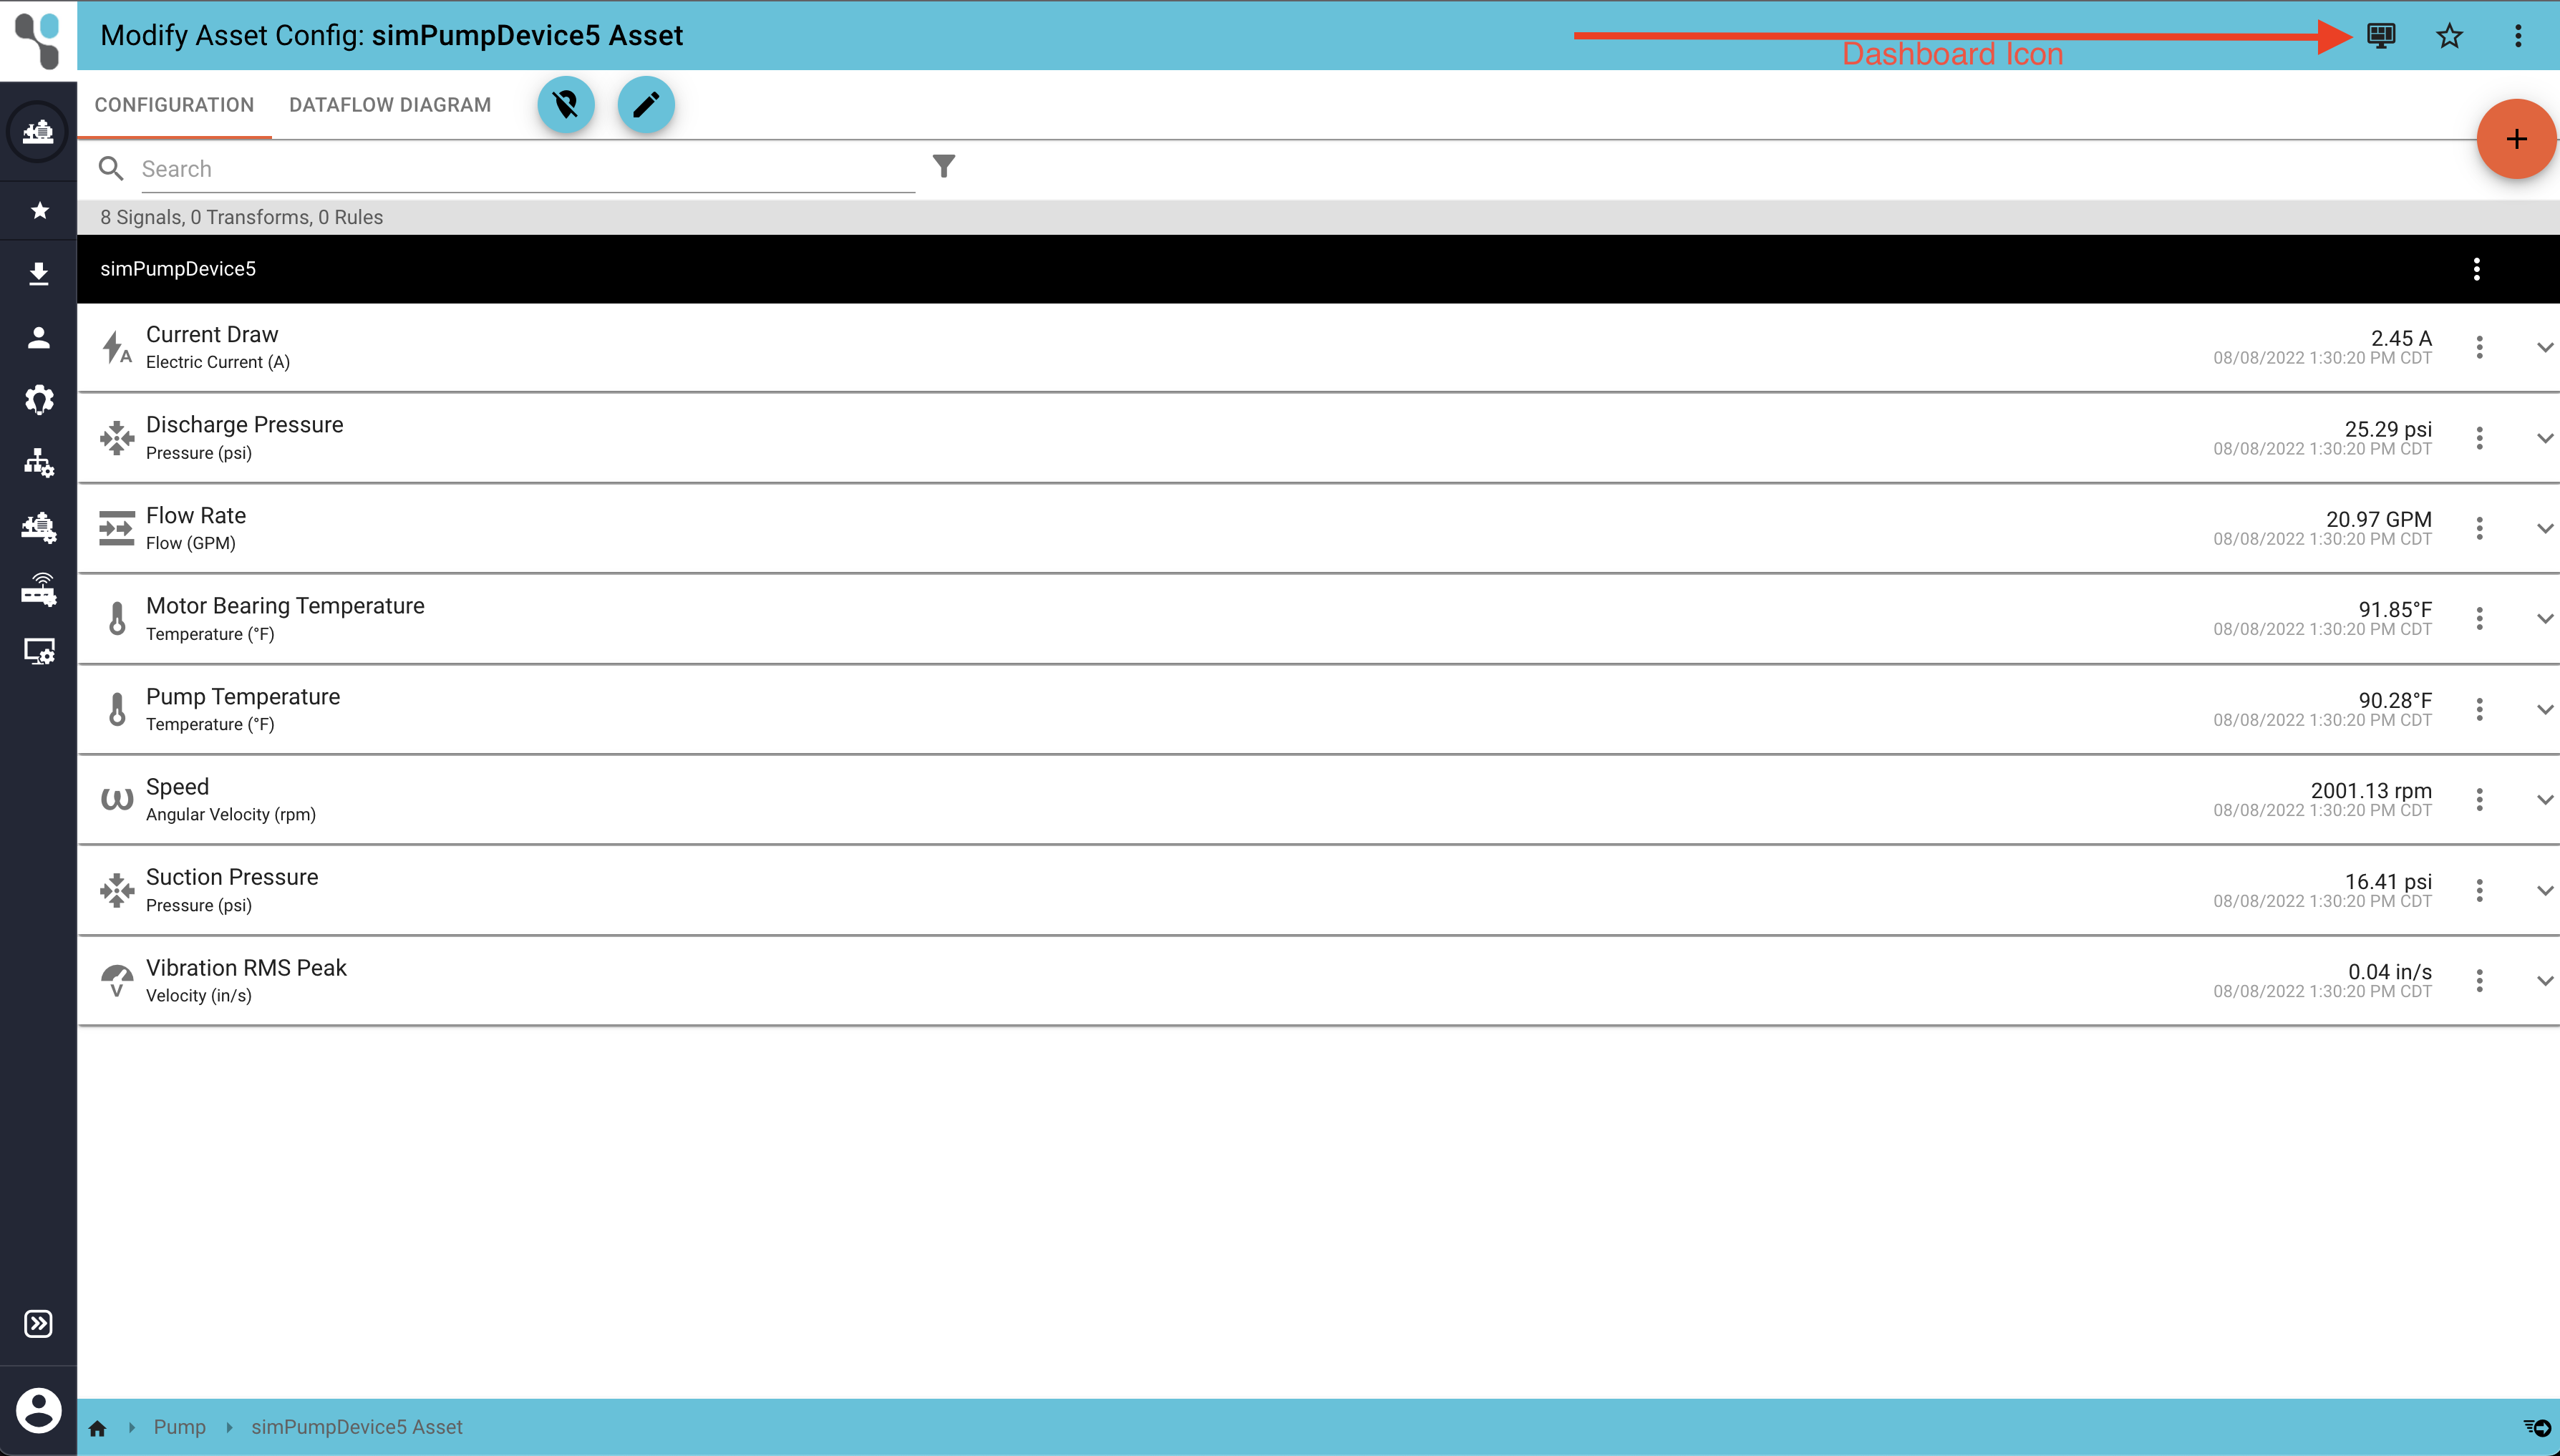
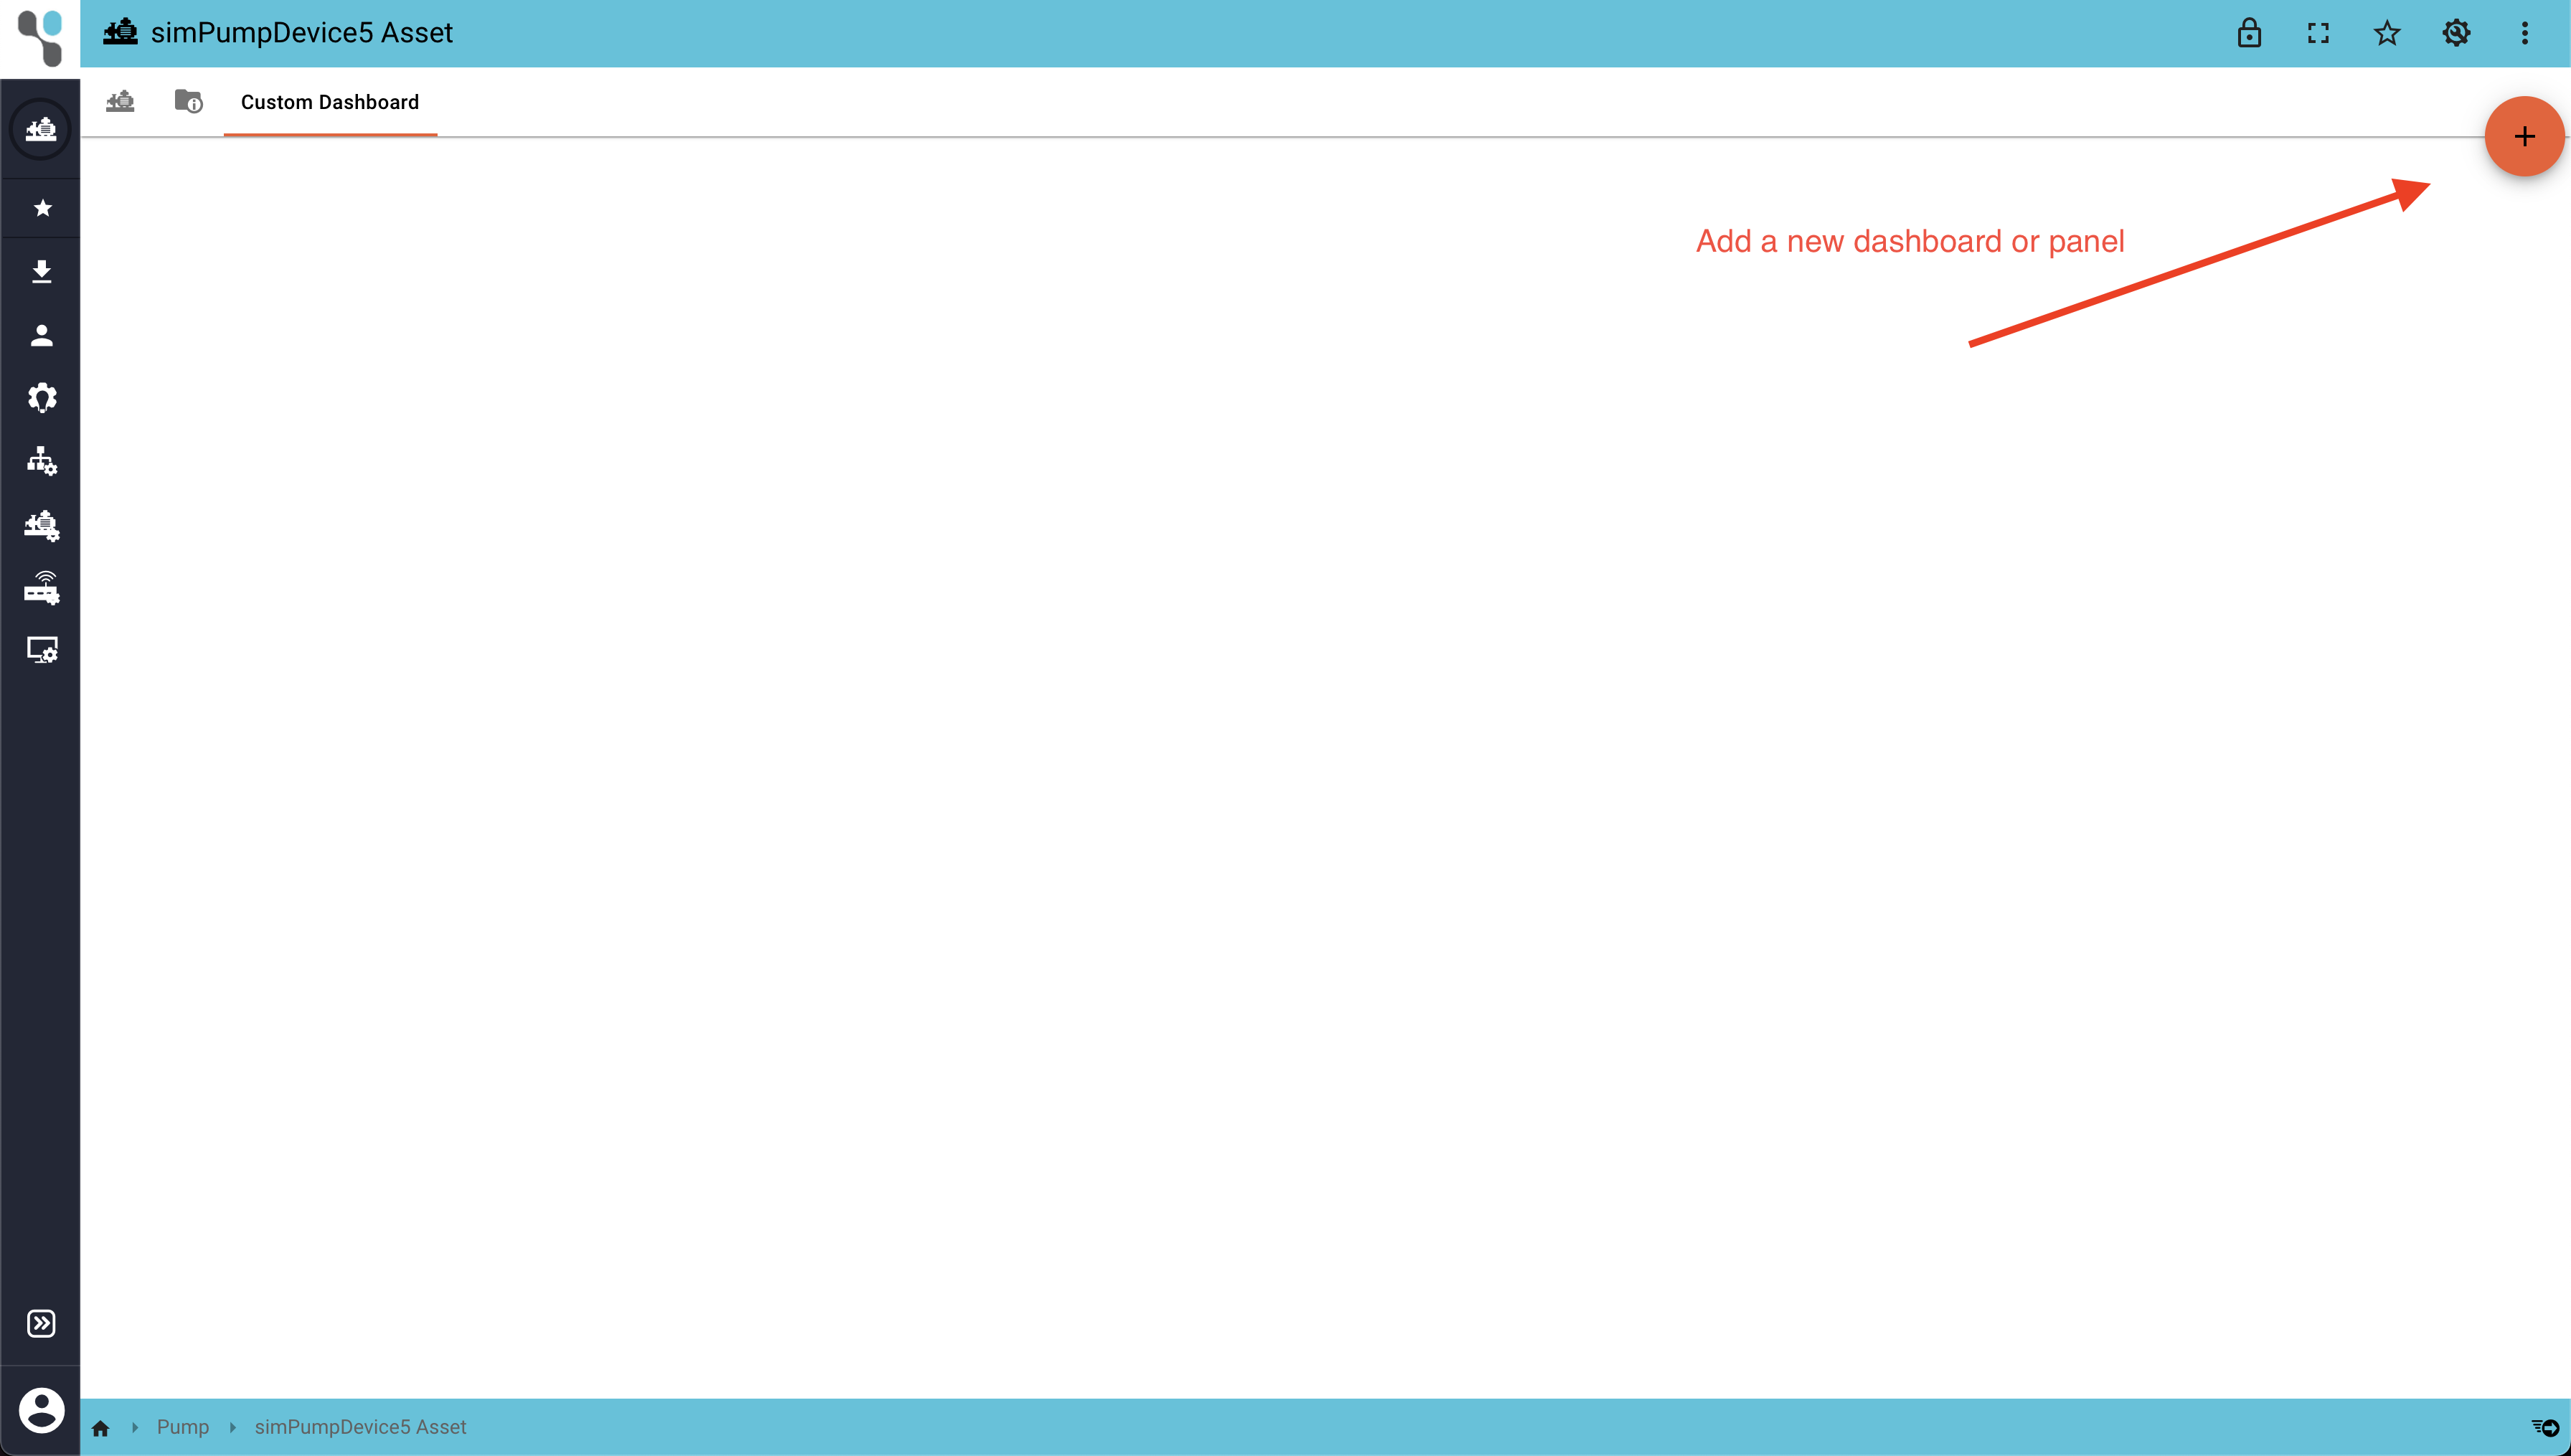
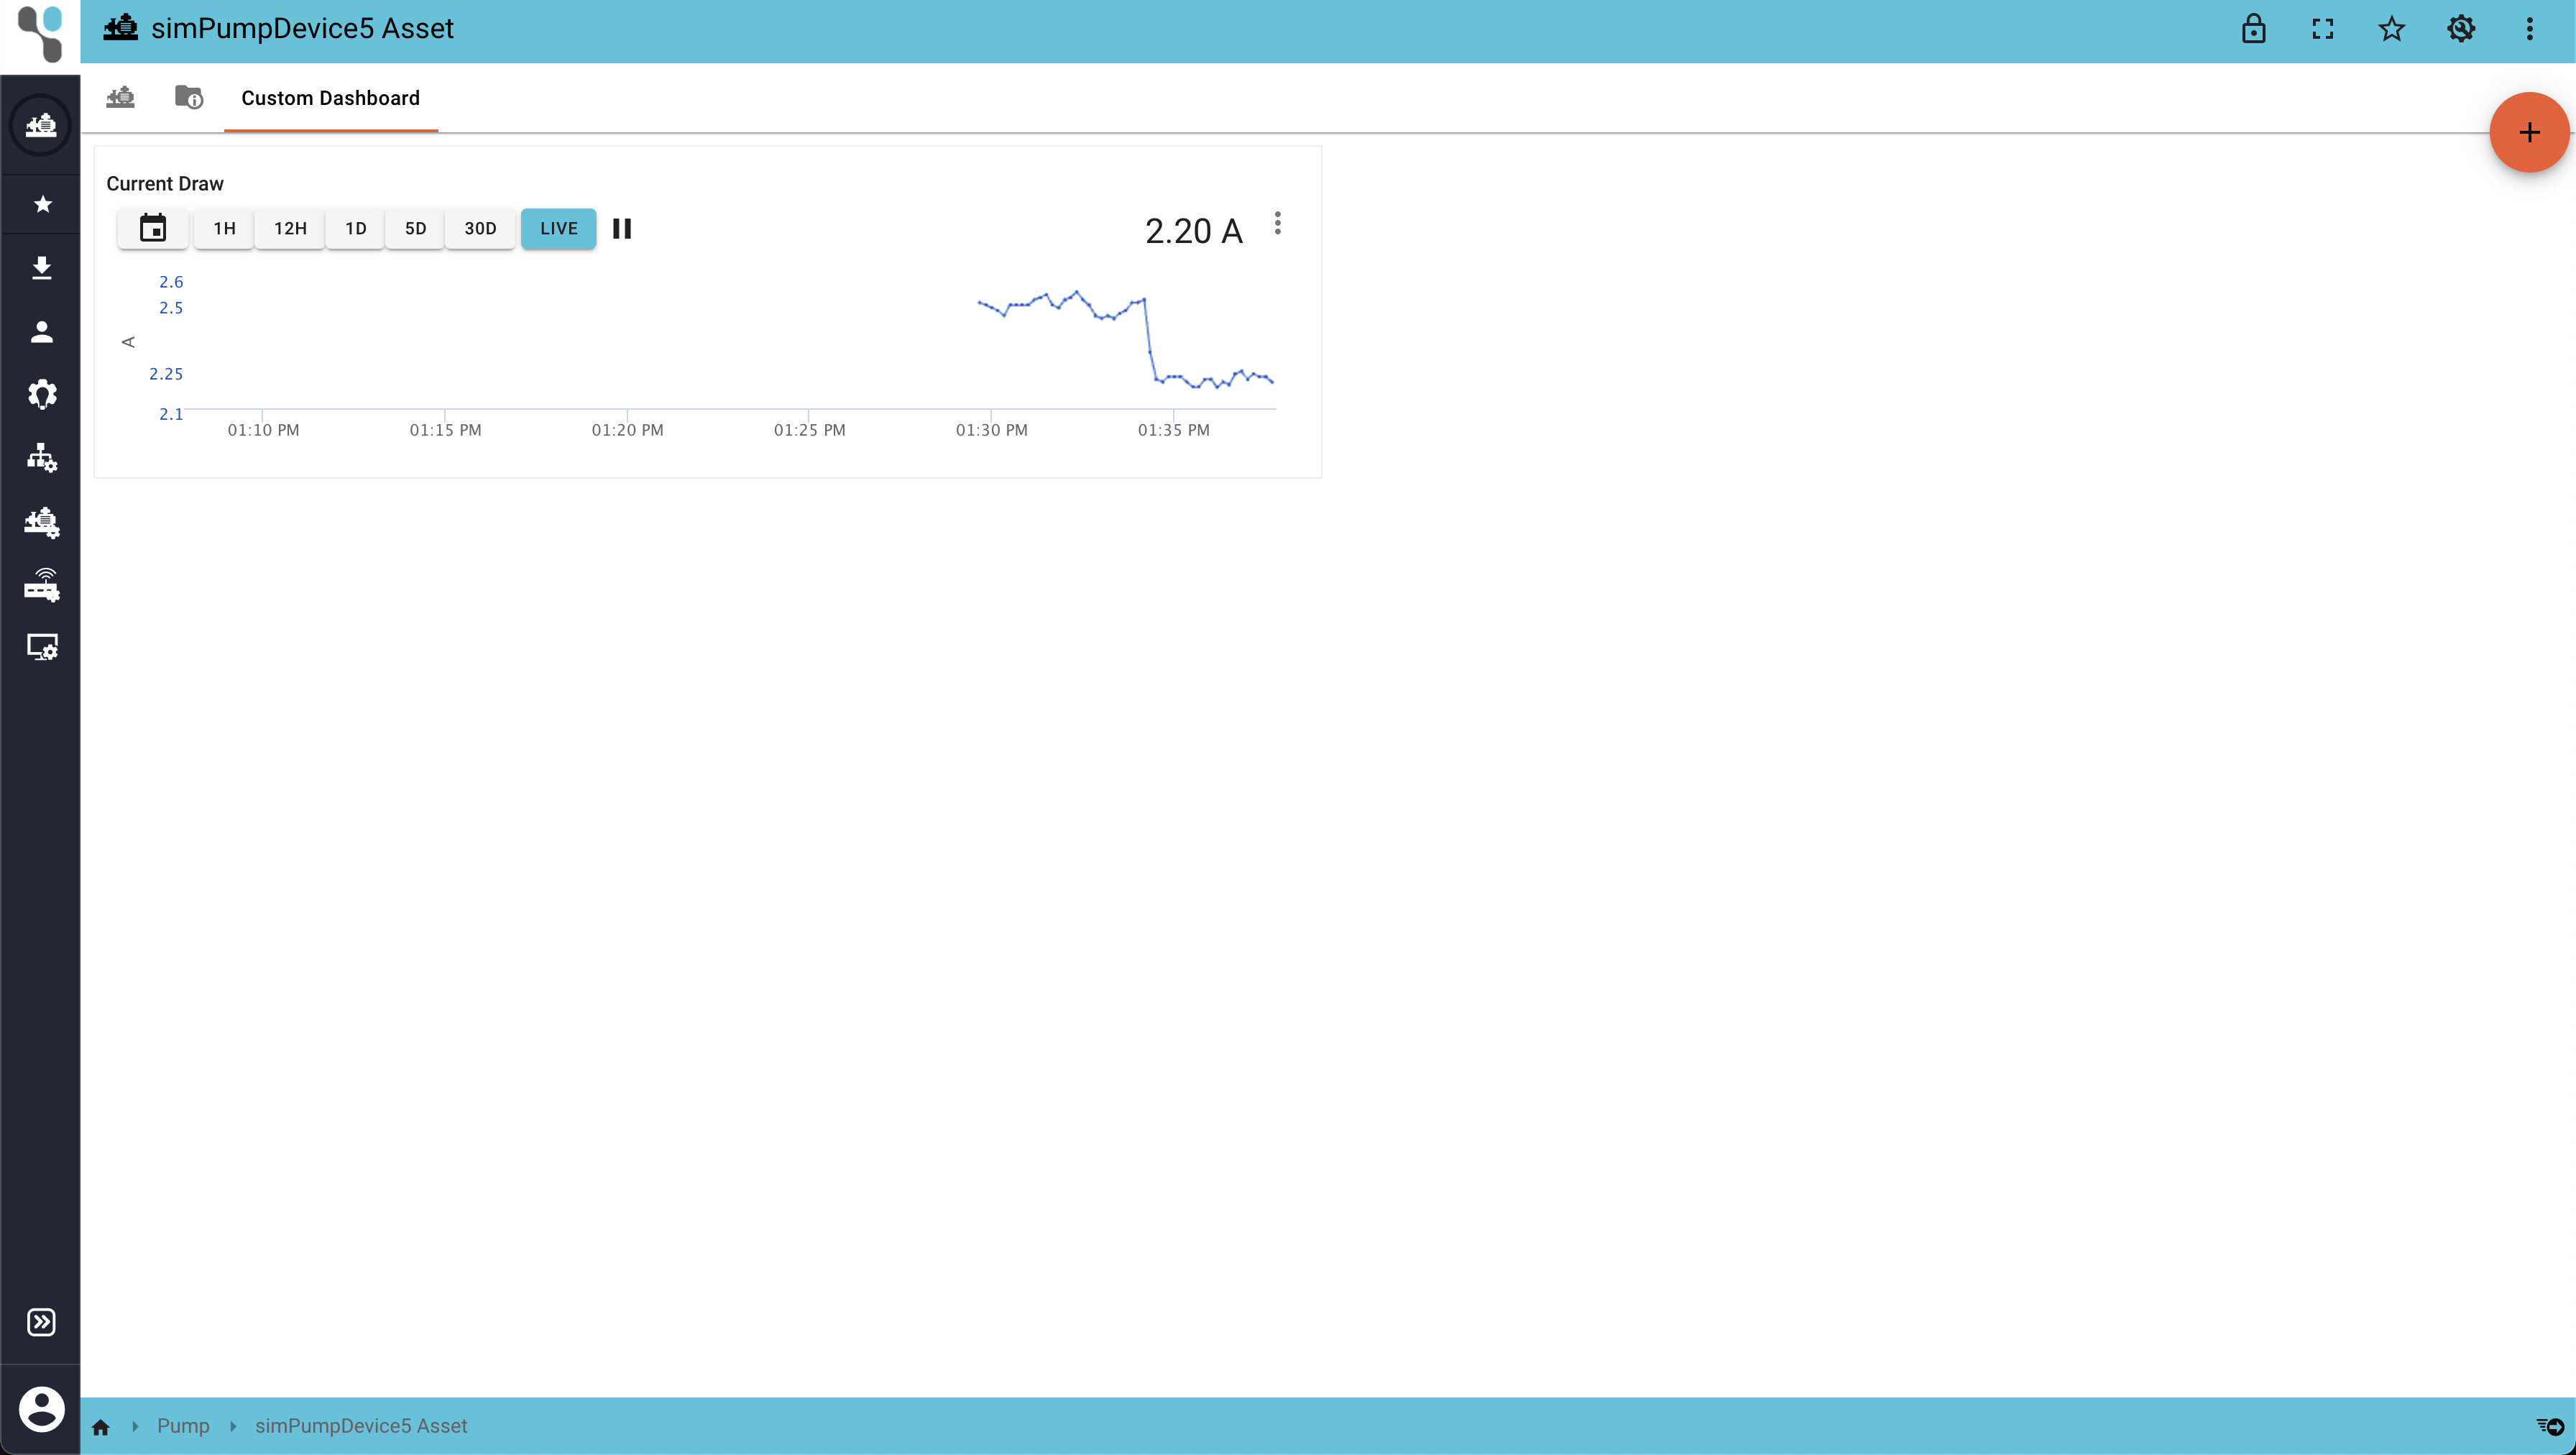
Navigate to the dashboard view for the asset by clicking the dashboard icon in the top right. You’ll notice that there are three dashboards currently available (visible in the top bar, kind of like browser tabs) - the “data dashboard” (represented by the asset icon), the “content dashboard” (represented by a file icon) and a “custom dashboard” which is blank. Unless an asset is created from a template, these three dashboards will be created by default. The data and content dashboards display information important to all assets and are not intended to be removed or modified. The “custom dashboard” and any new dashboards you add to your asset are fully customizable. Along with rules and transforms, these custom dashboards are the primary features that will be replicated when you create new assets from a template.
Let’s add a panel to our custom dashboard. To do so, click the orange “+” button on the right side of the screen and click the “New Panel” option.
There are many panel types with many configuration options - too many to go into here. For example purposes, I have added a simple line chart with all the default options displaying the “Current Draw” signal.
Now that we have an asset and have configured its dashboard, let’s use it to create a template.
3. Creating a Template from an Asset
Navigate to the “Asset Management” page. Click the orange “+” button. You will be taken to the “Create Asset Template” page. By default, the “Create from existing asset” option is selected. Find the asset you just made in the group menu on the right and select it. The template name and group will be automatically populated, though you can change them if you like.

Click the “Create” button in the bottom right.
Your new asset template will now be available in the “Asset Management” menu.

Note that the asset from which you created this template is now linked to the template. You can verify this by navigating to the asset and viewing its “Modify Asset Config” page.
To learn more about asset templates, please view our documentation.